
Chrome repair restoration for motorcycles and scooters involves meticulous damage assessment and tailored techniques like mechanical polishing or electroplating. The process begins with cleaning and sanding, followed by applying chrome compounds and buffing for a glossy finish. Complex repairs may require professional collision services. Success hinges on proper tools, preparation, and environmental control.
“Bring your motorcycle or scooter components back to life with our comprehensive guide to chrome repair restoration. Discover the secrets behind the process, from understanding the science of chrome repair to mastering the art of restoring shiny, durable finishes. We’ll walk you through a step-by-step restoration guide for scooter parts and offer insider tips to overcome common challenges. By the end, you’ll be equipped to transform your worn metal surfaces into gleaming gems.”
- Understanding Chrome Repair Process for Motorcycle Parts
- Restoring Scooter Components: Step-by-Step Guide
- Common Challenges and Tips for Successful Chrome Restoration
Understanding Chrome Repair Process for Motorcycle Parts

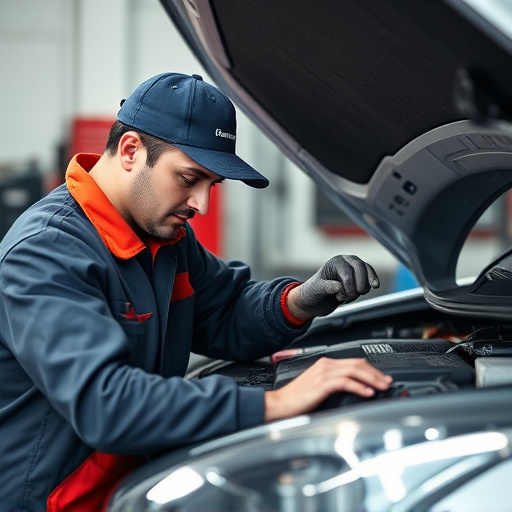
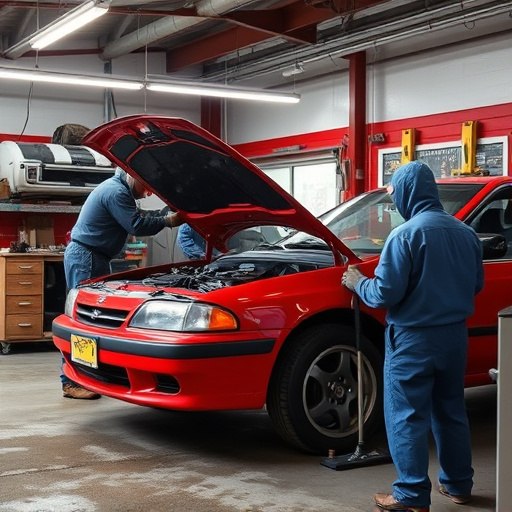
The process of chrome repair restoration for motorcycle and scooter components involves a meticulous approach to revive their gleam and protect against future damage. It’s not just about fixing scratches or dents; it’s about understanding the unique properties of chrome and applying specialized techniques to restore its original condition. The first step is assessment, where experts inspect the extent of damage, be it pitting, corrosion, or cosmetic scratches. Depending on the severity, various methods are employed, from mechanical polishing to electroplating.
Chrome repair goes beyond mere aesthetics; it’s about enhancing durability and longevity of these parts. Just as a car scratch repair expert in an automotive collision repair center would tailor their approach based on the vehicle’s make and model, so too does a chrome restoration specialist for motorcycles and scooters. This personalized touch ensures that every component not only looks brand new but also stands up to the rigors of the road, much like how a quality collision repair center would restore a car to its pre-accident condition.
Restoring Scooter Components: Step-by-Step Guide
Restoring Scooter Components: A Step-by-Step Guide to Chrome Repair Restoration
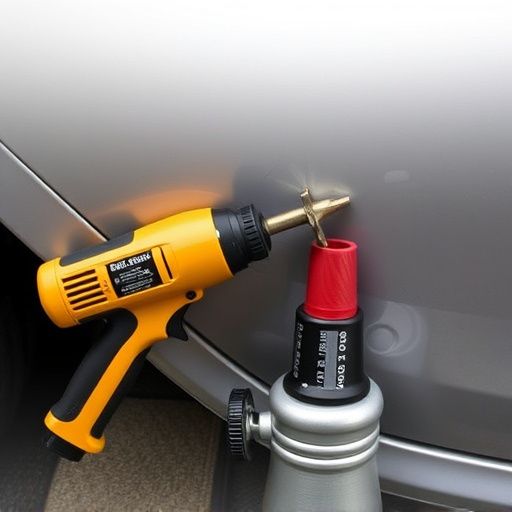
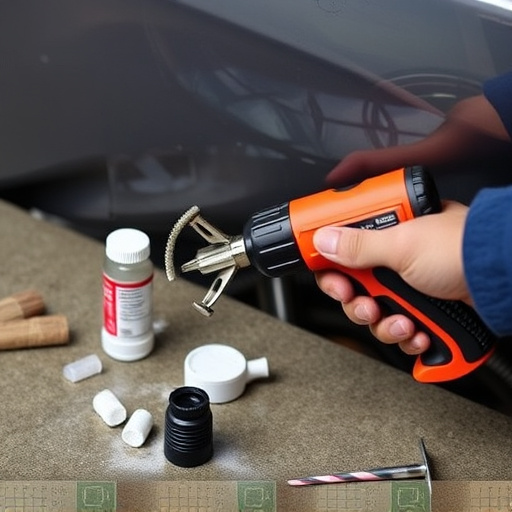
The first step in restoring scooter components involves assessing the damage. Inspect the chrome parts for any chips, cracks, or peeling, which often occur due to everyday wear and tear or minor accidents. For smaller scratches and dents, a simple polish can be effective, but deeper damage might require more extensive repair techniques. Next, prepare the work area by ensuring proper ventilation, as many chrome restoration processes involve chemical compounds. Gather all necessary tools, including fine-grit sandpaper, polishing compounds, applicator pads, and protective gear for safety.
Begin by gently sanding the damaged areas with progressively finer grits to create a smooth surface. This step is crucial in eliminating irregularities that could affect the final restoration. After sanding, thoroughly clean the component to remove any dust or debris. Apply the chrome restoration compound using an applicator pad, following the product’s instructions for the best results. Allow the compound to dry before buffing it with a microfiber cloth to achieve a seamless, glossy finish. For more complex repairs, consider seeking professional help from collision repair services specializing in vehicle paint repair, ensuring your scooter components are restored to their original, vibrant condition.
Common Challenges and Tips for Successful Chrome Restoration
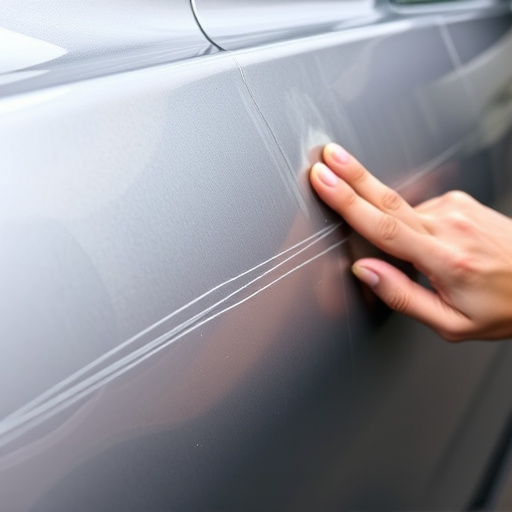
Restoring chrome on motorcycle and scooter components can be a delicate process, presenting several challenges unique to these vehicles. One of the primary difficulties lies in the varying degrees of damage, from small scratches and dents to extensive pitting and erosion caused by elements like weather, road debris, or even accidents—similar to issues encountered in car paint repair when dealing with hail damage. These imperfections require meticulous attention during the chrome repair restoration process.
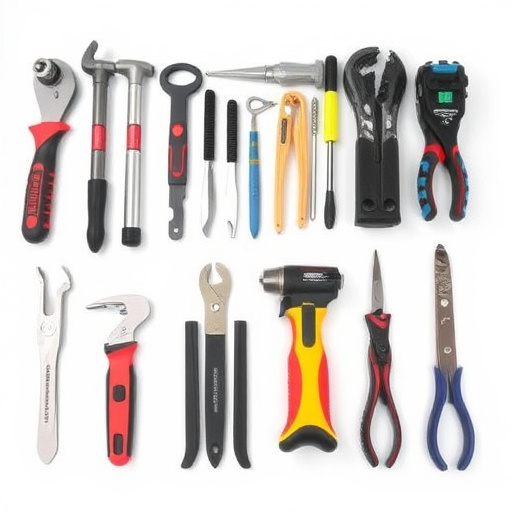
To ensure success, it’s crucial to have the right tools and techniques. Preparation is key; cleaning and sanding the surface thoroughly helps remove contaminants that can hinder adhesion. Using specialized compounds and polishes designed for chrome restoration enables achieving a smooth base before applying new chrome coatings. Additionally, considering the environment—especially if it’s a collision repair shop—is vital; controlled conditions prevent premature curing or contamination, ensuring the best results for your chrome repair restoration project.
Chrome repair restoration is a specialized skill that brings faded or damaged motorcycle and scooter components back to their glossy, original state. By understanding the processes involved, from identifying suitable repair methods to mastering techniques like buffing and polishing, you can effectively restore these valuable parts. Following the step-by-step guides and addressing common challenges will ensure successful chrome restoration, allowing you to enjoy the sparkle and durability of your beloved vehicle’s components once more.